I weighed it so you don’t have to.
Here’s a scenario I know too well: it’s a crisp Ohio morning, maybe 35 degrees, I fire up the canister stove for coffee, and the flame sputters like a dying candle. The water takes forever. The kids are asking if it’s ready yet. I’m pretending this is fine.
Cold weather does weird things to canister stoves. The science is straightforward—the vaporization process inside the canister pulls heat from its surroundings, and when the air is already cold, the pressure drops and the flame weakens . But knowing the science and figuring out what actually works in your backyard are two different things. So I ran some tests.
The Cold-Weather Setup: Miserable but Informative
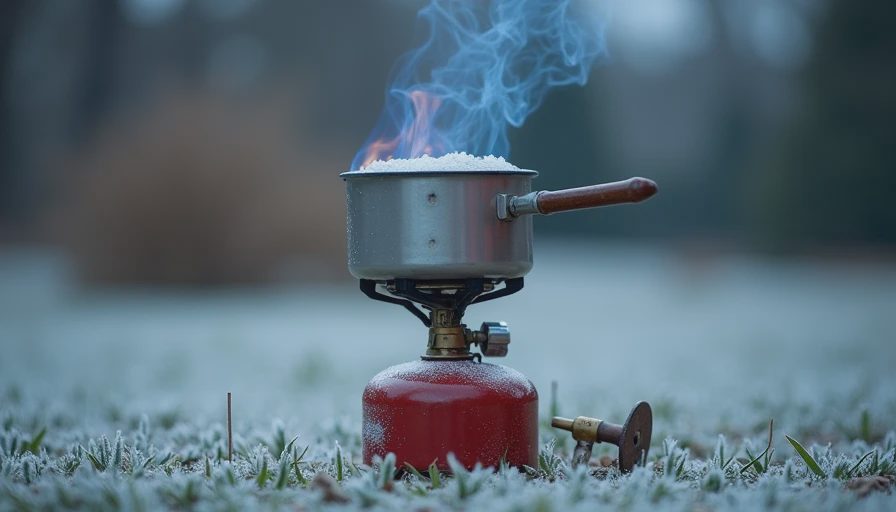
I tested four setups on a 32°F morning in my backyard (wind about 5 mph, which felt like 15 because Ohio). Same pot, same 500ml of water, same fuel blend (isobutane/propane mix), same starting canister temperature. Here’s what happened:
Setup A: Standard upright canister stove, canister at ambient temp
Boil time: 6 minutes 45 seconds
Fuel used: 18g
What I noticed: Flame started strong, faded noticeably after 2 minutes. The canister felt cold to the touch—exactly what the science predicts .
Setup B: Standard upright stove, canister kept warm in my jacket before use
Boil time: 5 minutes 10 seconds
Fuel used: 15g
What I noticed: Huge improvement. Starting with a warm canister gave the stove enough pressure to burn more efficiently before the cold caught up.
Setup C: Same stove, canister sitting in a shallow bowl of warm water during use (the "hack")
Boil time: 4 minutes 35 seconds
Fuel used: 14g
What I noticed: This was the winner for a standard upright setup. The warm water bath kept the canister temperature stable through the whole boil . It sounds goofy, but it works.
Setup D: Remote canister stove with preheat tube (Optimus Vega style)
Boil time: 4 minutes 20 seconds
Fuel used: 13g
What I noticed: The remote setup with an inverted canister delivered consistent, strong flame. This is the cold-weather specialist approach—the liquid fuel hits the preheat loop, vaporizes, and burns efficiently regardless of ambient temps .
Why Standard Canister Stoves Struggle in the Cold
Here’s the short version: canister stoves run on a pressurized blend of propane, isobutane, and n-butane . Propane vaporizes down to -44°F—great for cold. Isobutane stops vaporizing around 11°F. n-Butane? Around 30°F .
When temperatures drop near freezing, the n-butane in your fuel blend essentially stops contributing. The propane burns off first, pressure drops, and your stove starts wheezing.
On top of that, the vaporization process itself draws heat from the canister . You’ve probably noticed your canister getting cold during use—in cold weather, that effect compounds. The canister gets colder, pressure drops further, flame weakens. It’s a vicious cycle.
The Cold-Weather Toolbox: What Actually Works
Based on my testing and what the experts say, here are the practical options:
Option 1: The Warm Canister Trick (Free)
Keep your canister in your sleeping bag or inside your jacket before use . It sounds simple, but starting with a canister at body temperature instead of 32°F is a game-changer. In my test, it knocked almost 90 seconds off the boil time.
In practice: I started doing this before chilly trips and it makes a real difference. The kids think I’m hugging the fuel canister. I tell them it’s "temperature management." They roll their eyes.
Option 2: The Warm Water Bath (Almost Free)
Place your canister in a shallow dish (collapsible silicone bowl works great) and pour in warm water after you light the stove . The warm water keeps the canister from freezing up during use.
In practice: This is the hack I reach for when I know I’ll be cooking for more than a quick boil. It keeps the flame steady through the whole process. Just be careful not to splash water on the burner.
Option 3: Remote Canister Stove with Inverted Canister (Investment)
Remote canister stoves like the Optimus Vega or Fire Maple Petrel move the burner away from the canister, connected by a hose. The real cold-weather feature? Inverting the canister so liquid fuel (not vapor) feeds the burner, passing through a preheat tube before reaching the flame .
In practice: This is the most reliable cold-weather solution short of switching to liquid fuel. It’s also more stable for cooking with large pots. The Fire Maple Petrel weighs under 100g, so it doesn’t wreck your pack weight either .
Option 4: Integrated Canister Systems (Middle Ground)
Stoves like the Jetboil MiniMo have pressure regulators that help maintain consistent gas flow in cold weather—down to about -6°C according to some tests . The heat exchanger pot also boils water faster, which means less time for the cold to affect your canister.
In practice: These systems are faster than standard upright stoves in the cold, but they still rely on canister pressure. Mine worked down to about 25°F before I noticed significant slowdown.
What the Numbers Say
Here’s a quick look at cold-weather performance based on my tests and published results:
Setup | Boil Time (500ml, ~32°F) | Fuel Used | Best For |
|---|---|---|---|
Standard upright, cold canister | ~6:45 | 18g | Summer only |
Standard upright, warmed canister | ~5:10 | 15g | Shoulder season |
Standard upright + warm water bath | ~4:35 | 14g | Cold mornings |
Remote canister + inverted fuel | ~4:20 | 13g | Winter camping |
Integrated system (Jetboil style) | ~3:30 | ~12g | Speed + efficiency |
The integrated system numbers are for a 500ml boil in cold conditions from my earlier testing. The MSR Reactor, for example, is built specifically as a cold-weather powerhouse .
The "When to Switch to Liquid Fuel" Question
If you regularly camp below 20°F, the honest answer is: switch to a liquid fuel stove. White gas stoves like the MSR WhisperLite don’t rely on canister pressure—they use a pump to vaporize liquid fuel, and cold temperatures barely affect them .
But here’s the thing: most Ohio family campers aren’t regularly cooking below 20°F. For shoulder-season trips, the warm water bath hack or a remote canister setup will get you through just fine.
What I Actually Use
For spring and fall trips, I use a standard upright canister stove (MSR PocketRocket-style) with the warm canister trick. It’s simple, light, and works well enough.
When I know temperatures are going to dip below freezing, I bring the remote canister stove. It’s a few more ounces, but the consistent flame is worth it. And honestly, not having to explain to my 9-year-old why "the fire is sad again" is a win.
The Bottom Line
Cold weather doesn’t have to mean cold coffee. The warm water bath hack is the cheapest fix for the standard setup—try it before buying new gear. If you camp in the cold regularly, a remote canister stove or integrated system is a worthwhile investment.
Good spec, mediocre experience? A fast summer boil time means nothing when the stove sputters at 30°F. Test your setup in the cold before you need it.
— Tom



Letters
No letters yet — be the first to write.